here are some samples of what can be done
Start with you word or design
weld and compound path your design
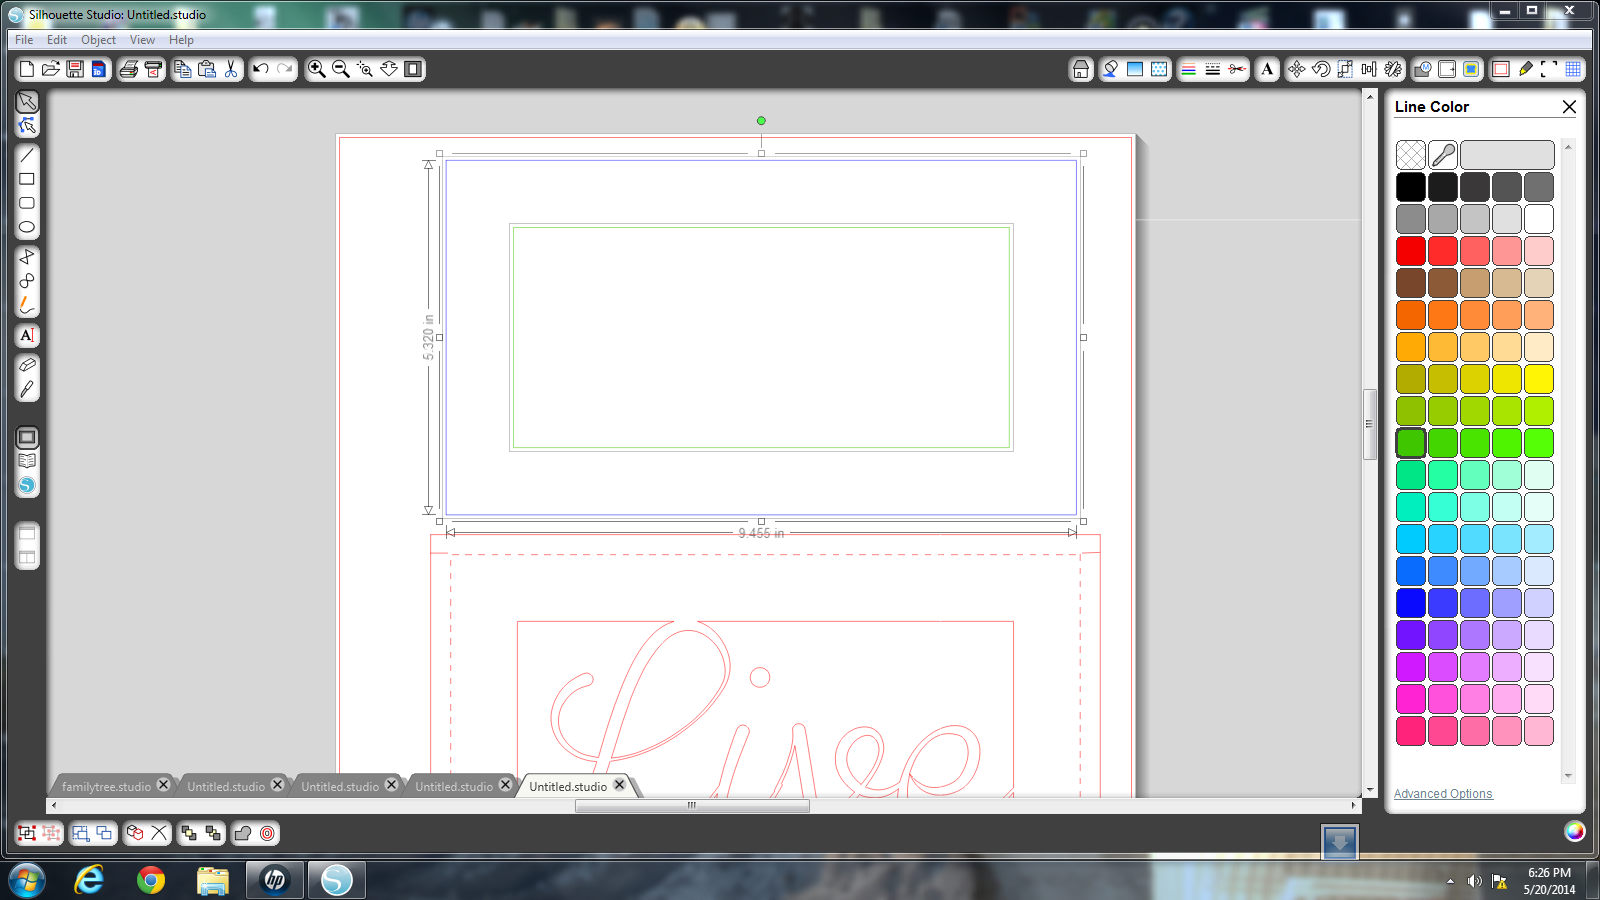
Draw a Box around your design making sure your design is slightly bigger then your box
select your box and offset by 1.000
select both boxes by holding down shift and clicking on each one. Right click and Make a compound path
Right click and weld
Offset by.110
offset by .130
Make a copy of your first design
Release compound path and remove the design leaving the outer box alone. Make 2 copies of box.
put an X through your top box and group together
Match up the concer of box 1 with box X. Group. this make it easy to move when layering.
Match up Box 1 with box 2.
Take one of the copies of the outer box and line it up with box1.
move box 1 to the side
release compound path of box 2 and remove the overhanging box.
Select new out box and inside design and make compound path
repeat one box 3
ungroup and delete box X
Move all boxes apart some. Release compound path on all 3 boxes.
offset all 3 boxes by .300
select the middle box on all 3 boxes and change to fold lines
add cut lines in the corners on all boxes
add fold lines on all 3 box corners
lastly add numbers to each box


